- Jun 20
- 4 min read
Updated: Jun 21
Creating eye-catching displays requires creativity, precision, and the right materials. One of the most versatile materials I have worked with is Styrofoam. Its lightweight nature and ease of shaping make it ideal for crafting custom props that stand out. In this post, I will share insights into the process of crafting custom props using Styrofoam, practical tips, and how this approach can elevate any event or space.
Why Choose Custom Prop Crafting with Styrofoam?
Styrofoam offers several advantages that make it a preferred choice for custom prop crafting. First, it is incredibly lightweight, which simplifies transportation and installation. This is especially important for large-scale displays or events where mobility is key. Second, Styrofoam is easy to carve and shape, allowing for intricate designs and detailed sculptures.
Another benefit is its affordability. Compared to other materials like wood or metal, Styrofoam is cost-effective, making it accessible for a wide range of budgets. Additionally, it can be painted and finished in various ways to mimic other materials such as stone, wood, or metal, providing versatility in design.
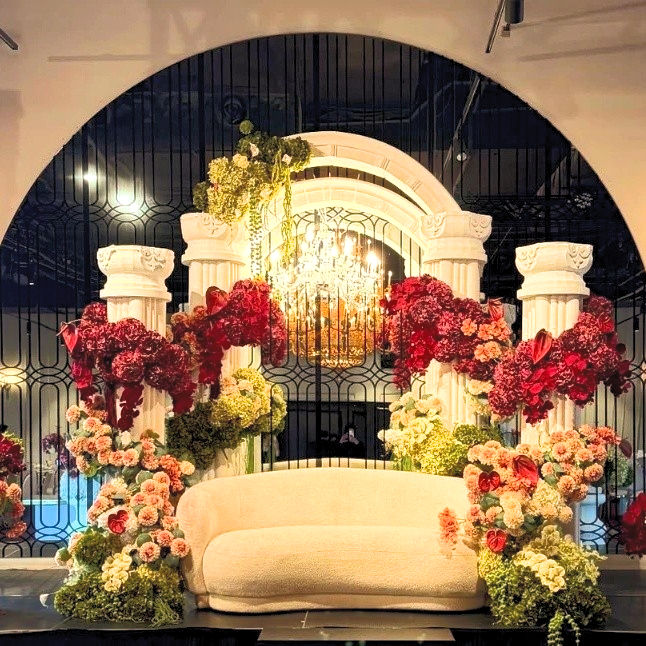
For example, I once crafted a large floral arch for a wedding using Styrofoam. The lightweight structure allowed for easy setup and removal, while the detailed carving and painting gave it a realistic and elegant appearance.
Essential Tools and Materials for Custom Prop Crafting
To start crafting custom props with Styrofoam, having the right tools and materials is crucial. Here is a list of essentials I recommend:
Styrofoam blocks or sheets: Choose the density based on the project’s needs. Higher-density foam is better for detailed carving.
Hot wire cutter: This tool allows for smooth and precise cuts.
Utility knives and carving tools: For finer details and shaping.
Sandpaper: To smooth surfaces and edges.
Adhesives: Use foam-safe glue or epoxy for assembling parts.
Paints and sealants: Acrylic paints work well, and sealants protect the finished piece.
Protective gear: Masks and gloves to ensure safety during cutting and painting.
When working on a large prop, I often start by sketching the design on paper, then transferring it onto the foam. Using a hot wire cutter, I carve the basic shape before refining details with knives and sandpaper. Painting comes last, with multiple layers to achieve the desired texture and colour.
Step-by-Step Guide to Crafting Custom Styrofoam Props
Crafting custom props from Styrofoam involves several stages. Here is a detailed guide to help you through the process:
Design and Planning
Begin with a clear concept. Sketch your design and determine the dimensions. Consider the display location and how the prop will be used.
Selecting the Foam
Choose the appropriate foam density and size. For larger props, multiple blocks may need to be joined.
Cutting and Shaping
Use a hot wire cutter for rough cuts. Then, refine the shape with carving tools and sandpaper. Take your time to achieve smooth curves and sharp edges where needed.
Assembly
If your prop consists of multiple pieces, glue them together securely. Reinforce joints if necessary.
Detailing
Add texture or intricate details by carving or attaching additional foam pieces.
Painting and Finishing
Apply a base coat of paint, then add layers for shading and highlights. Seal the prop with a protective finish to enhance durability.
Installation
Plan how the prop will be displayed. Consider supports or mounting options to ensure stability.
Throughout this process, patience and precision are key. I always recommend testing paint and sealants on a small piece of Styrofoam first to avoid unexpected reactions.
Tips for Durable and Safe Styrofoam Props
Styrofoam is delicate and can be prone to damage if not handled properly. Here are some tips to ensure your props last and remain safe:
Use sealants: Applying a protective coating prevents moisture damage and adds strength.
Avoid direct sunlight for long periods: UV rays can degrade foam over time.
Reinforce large props internally: Use wooden or metal frames inside to support weight.
Handle with care during transport: Use padding and secure packaging.
Choose non-toxic paints and adhesives: This is especially important for indoor displays or events with children.
By following these guidelines, your custom Styrofoam props will maintain their appearance and functionality throughout their intended use.
Expanding Creative Possibilities with Custom Styrofoam Props
The versatility of Styrofoam opens up endless creative possibilities. From themed event decorations to retail displays and theatrical sets, the material adapts well to various styles and sizes. For instance, I have created oversized food replicas for promotional events, whimsical characters for children’s parties, and elegant architectural elements for exhibitions.
One of the most rewarding aspects of working with Styrofoam is the ability to bring imaginative concepts to life without the constraints of heavy or expensive materials. This flexibility allows for experimentation and innovation in design.
If you want to explore more about custom styrofoam props, you will find a wealth of inspiration and professional services that can help transform your ideas into reality.
Bringing Your Vision to Life with Styrofoam Crafting
Crafting custom props with Styrofoam is a practical and creative solution for unique displays. Whether you are planning an event, designing a retail space, or creating an art installation, Styrofoam offers the perfect balance of affordability, ease of use, and visual impact.
By understanding the materials, tools, and techniques involved, you can confidently approach your next project and achieve stunning results. Remember to plan carefully, work patiently, and protect your finished pieces to ensure they shine throughout their display life.
With the right approach, your custom prop crafting journey will be both enjoyable and rewarding, helping you create memorable and distinctive environments that captivate your audience.
Comments